


Things get a little piratical in yet another 3ds max/Photoshop paint-over walk through

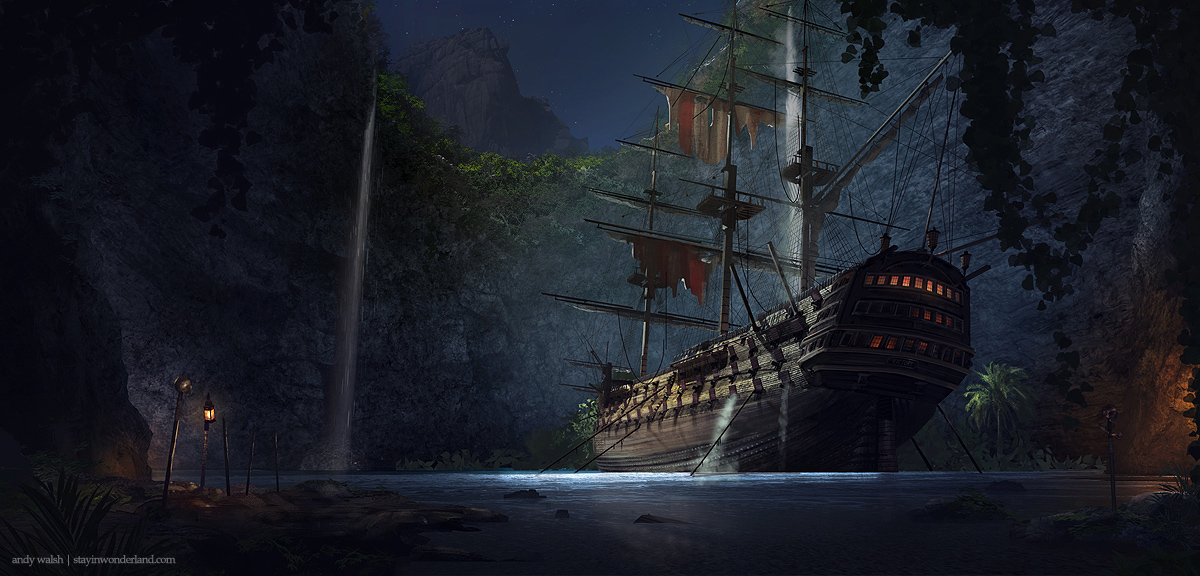
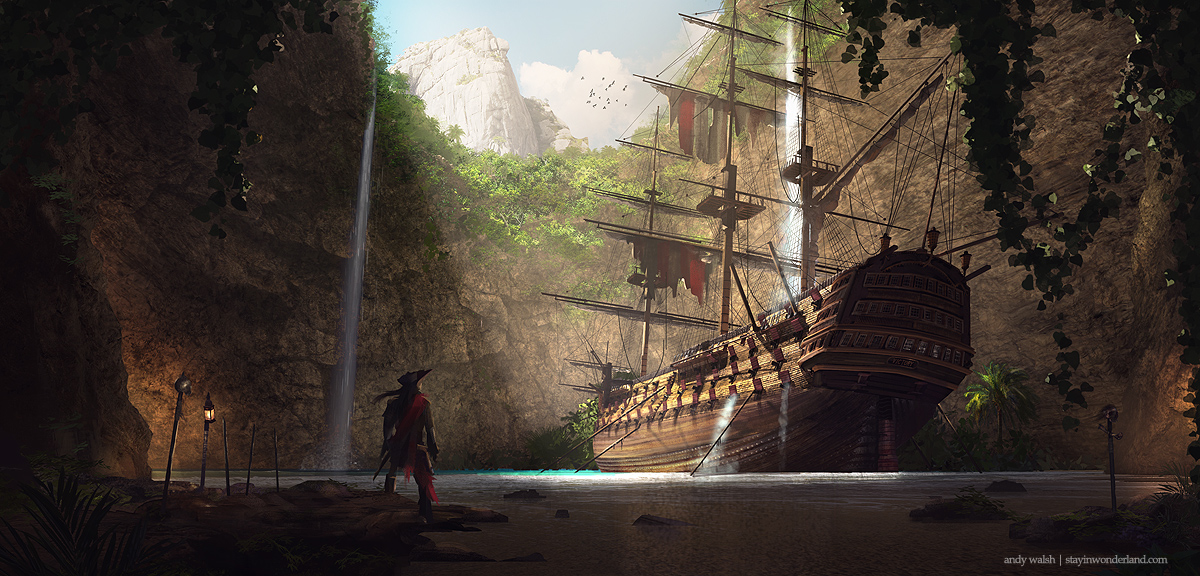
Here are the final images (click for full size):
Doing the pirate genre has been on my mind for a while now. I guess for any aspiring entertainment artist it can’t not be, right?
I can’t deny that, haiving recently completed it, I was influenced by Assassin’s Creed in this one. I was especially intrigued by the occasional appearance of the smuggler’s dens, in particular the one with the ship inside the cave. So I fancied doing my own but taking the scale up a notch because such environments within the game were of a fairly sensible scale and it’s fun to make things a little more colossal in size!
Research
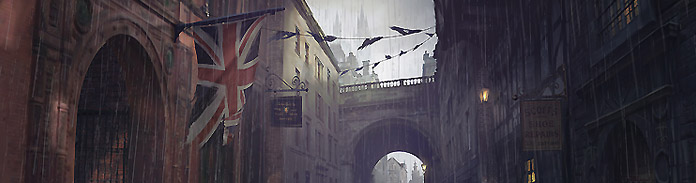
Admittedly, much of my research sort of soaked in ambiently as I played the game. Just getting the basic idea of what kinds of ships were sailing in the 18th century caribbean. So that took care of my awareness of ships which left the general cave design to consider. Here’s a small snap shot of some of my reference images:
 Of course the other issue of the ship build was taken care of by a very lucky free download. I can’t seem to find where I got it from but it wasn’t hard to find. I either searched for ‘frigate’ or ‘ship’ and one of the top five or so free model sites provided the model. The texturing that came with it was kinda gross but the whole point was to paint over it.
3d process
Here’s the first render:
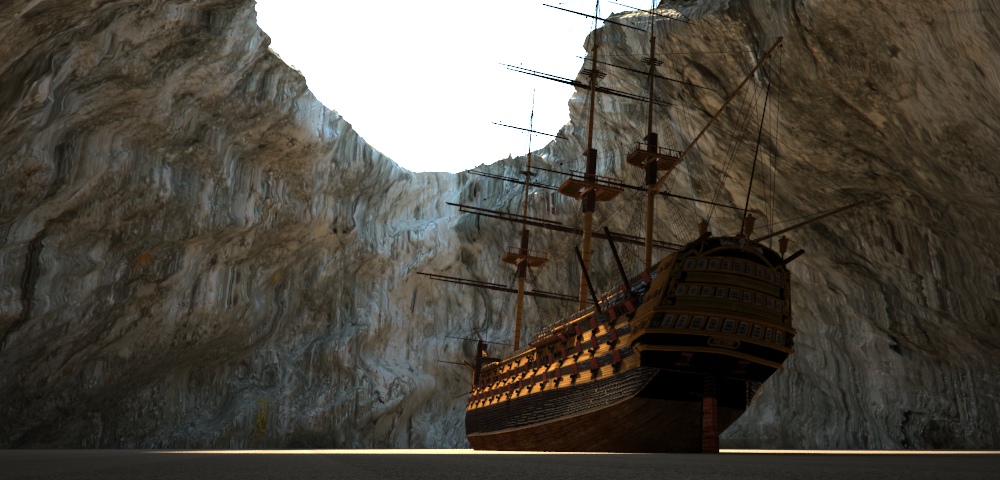
I put the ship in the scene, swapped all the materials for Vray materials using a free scritp and then went about cleaning them up – they were pretty low res and a bit ugly.
The next thing I did was to create the cave with the hole in the top. This was done by creating a cone shape (using a primitive) and then cutting the top and bottom off, adding a shell modifier to thicken it and then adding lots of noise (for which I needed a fairly dense mesh). I also added a displacement modifier and added some procedural noise as the texture map. This always requires a ton of experimentation but basically I used a mix material with noise in each slot and played with the scale of each until I got something basically acceptable (it’s just there to provide some shape for us to later add textures to in Photoshop).
Here’s my first low-res paint-over test:

If you’ve read my other 3d paint-over tutorials you’ll know that I always do a quick low res render and paint-over test to see if the image has legs. I could see the potential in this first test so knew that it was ok to proceed. The cave walls take rock textures set to ‘overlay’ pretty easily and look realistic.
Post process
This is the early stages of the post production:

I always struggle trying to decide how much needs to be painted and how much needs to be modelled before hand. In this piece I wanted to challenge myself so once I’d gotten to the stage previous to this, I just braved ahead and rendered out the 4000px images, assuring myself that whatever else was needed, I could handle in photoshop!
For this piece I rendered everything out separately so I could paint behind it.
Here’s an animated gif showing the steps:

There were many tweaks to the subtlety of the light and really it’s up to you as the artist regarding how much to expose it. The cave could have been fairly dark inside if need be. It’s always had to know which way to go.
In my previous work I’ve been guilty of making everything very mid-ground so I went for some rocks leading us in and some hanging foliage in the extreme fore. Likewise with the far mountain. It’s good to have take the viewer all the way through the image if possible.
As you can see above I hate doing characters and did around five iterations of the pirate dude before calling it a day. But I do feel it’s important to add life in the scene where possible. Another issue with past work is that the scenes have been a little dead as a result of not having a character involved somewhere.
Which brings me to the night scene. For that I did decide to leave out the guy and I feel, at least in this instance, it improved it…
Perhaps it’s because we get to focus on the ship more and as it’s night and has some lights on, there’s a little more to look at and pull us into.
That’s all for now. Please feel free to hit me up with any questions and I’ll get back to you. Also comment if you got anything out of this making-of!
Cheers 🙂
Beautiful work! I love your style quite a lot.
And I also appreciate the time and effort you put in creating such nice breakdowns.
Thank you for sharing this 🙂
Thanks, most welcome!
But my question is? How’d the ship get into the cave? Did the ship anchor in the ocean during waaaaaay high tide, and the ship, as the tide lowered, floated down into the hole in the cave ceiling where it now lays?
May be…
well that is the question isn’t it!
I like to make people ponder such things in a painting 🙂