This is the first 3d architectural visualisation tutorial I’ve made where we’ll go from Autocad plans through to 3ds max and photoshop!
Overview
For this 3d architectural visualisation tutorial I’m going to start with an autocad drawing, clean it up a little then bring it into 3ds max for tracing. I’ll finish the model and then light it with vray and finally render it out to be placed inside a location shot.
Here’s the final image (click for larger):
Step 1: Preparing Autocad Drawing
First we need to prepare the Autocad drawing for importing into 3ds max. This can take a while as we need to make sure everything is pretty damn clean and who knows what state a drawing is going to be in.
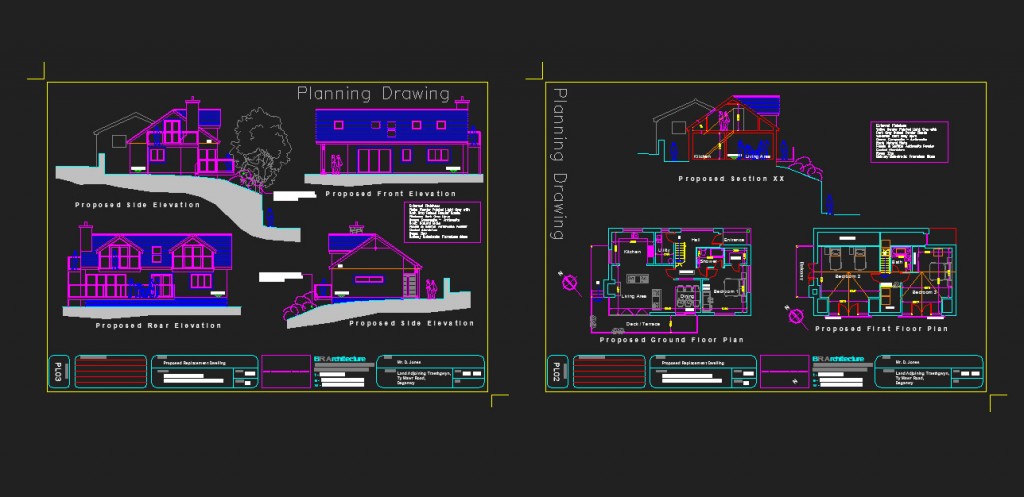
This is a ‘before’ screen grab (click for larger):
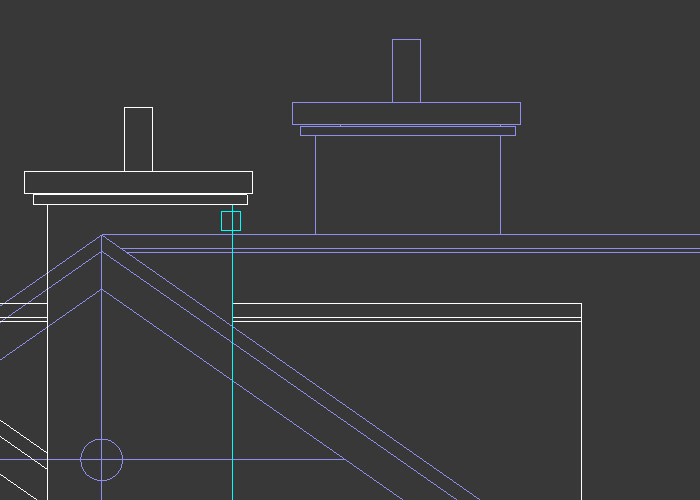
This is an ‘after’ screen grab (click for larger):
The basic idea here is to take every view (front, back, left, right, floor 1 and floor 2) and group them so they are each one block item on its own layer. I even had separate layers for the doors and balconies – this can be useful if you have objects or features which can obscure details behind them.
Obviously from image 1 to image 2 I have removed any unwanted line work such as people, trees, lettering, landscaping and furniture – this brief was exterior only.
I also took the ground floor and 1st floor and made them perfectly overlap using the snapping function. Snapping is key in this whole exercise. I’ve separated the floors above for illustration purposes, but on export they were on top of each other.
With each side on a separate layer, I can then move them around in 3ds max to get them in position.
Step 2: Aligning the views in 3ds max
Note: you can align everything in autocad if you feel more comfortable doing so. I prefer max is all.
This is a tricky step. One false move and the whole house might be ruined but you might not even realise until hours if not days of work have passed. Get this right first!
Snapping…
As you can see here, I’ve got my snapping set to 2.5 and highlighted the vertex snap and the Edge/Segment snap. You’ll be swapping between these two frequently.
Here’s another set of useful tools – axis constraints…
You can access these by r-clicking the top toolbar (r-click menu shown above) and choosing ‘Axis Constraints’. This is very useful for when you want to drag something and align it to the edge of something. It may already be perfectly set up in X so when you drag in Y you don’t want the object’s X values to slide around. Or vice versa.
Here’s an example of getting the two sides to line up (left side and right side of building)…
First we select the initial side we want to move/align (note: hover over the ‘side’, don’t just drag the entire object – you can see the side or ‘edge’ I’ve chosen i light blue). Here I also made sure to use axis constraint to only drag in one axis.
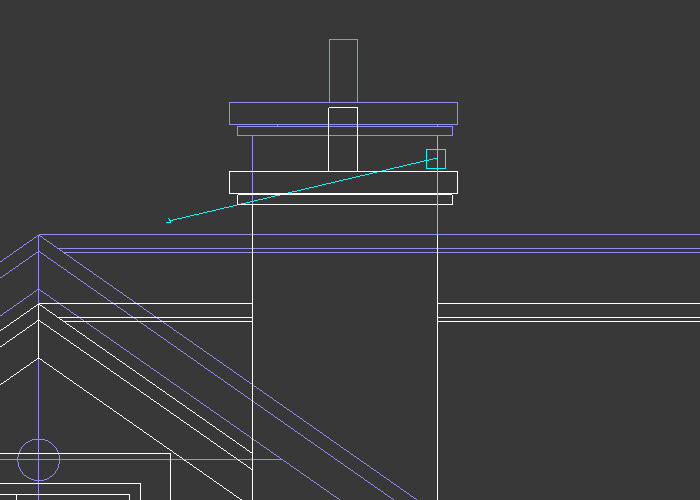
Then drag to your desired align location side or edge. Again, anything that qualifies as a side will light up in blue and be snap-to-able (that’s not a word!).
Next I changed the axis constraint and did the same to align it vertically. Now both sides are identical in their alignment.
I won’t go into more detail about aligning. I basically used this method throughout until I got somehting that looked like this…
Step 3: Tracing the Drawing.
This step is fairly straight forward. I will say at this point, having the plans in a PDF form to refer to was almost essential. Here is a picture of what I was using for visual reference rather than having to look at the cad drawing all the time…
 This is just one page of a supplied PDF which contained all the site drawings. It’s just much easier to look at than the DWG file.
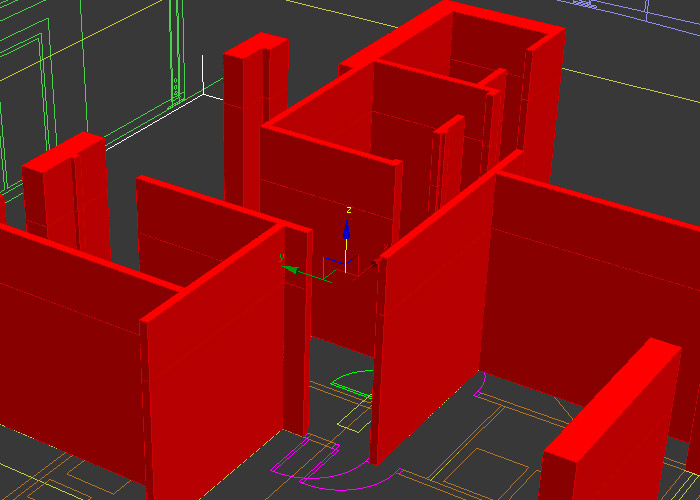
I began in the top viewport using the line tool and just traced all the walls in 2d. Once everything was traced over, I extruded it to the desired height. I then added an edit poly modifier and used the ‘Slice Plane’…
This will slice all my geometry at a given height and again to the bottom edge of the windows. I then would delete all facing polygons between door and window openings and use the ‘Bridge’ tool to connect the polygons, thus closing the gaps.
Step 4: 3ds max progress shots
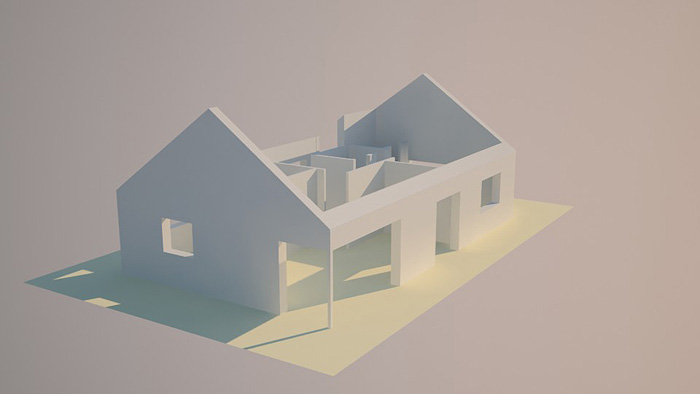
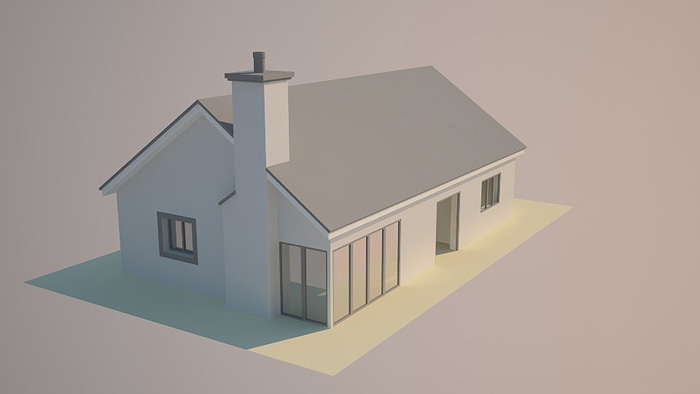
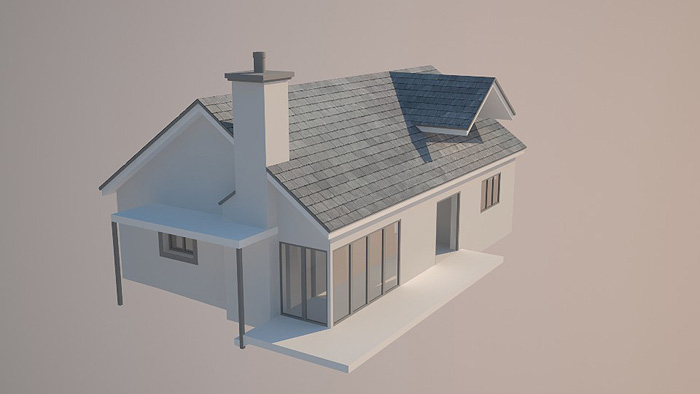
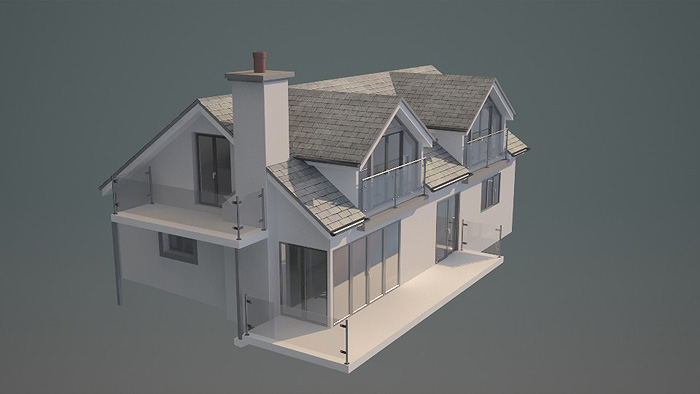
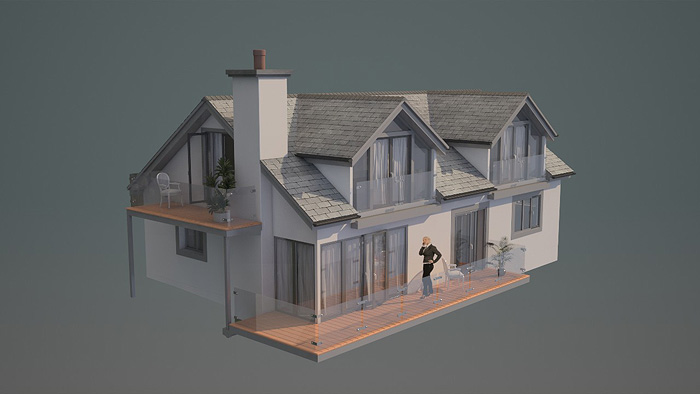
Here are the progress stills. I won’t go into much detail on modelling as this is intended as a general arch viz tutorial, but the modelling wasn’t anything special. Just some box modelling.
It’s worth noting at this stage that myself and the client had established a favoured view from which to render the property. As such I only modelled the bare essentials on the opposite side, focusing on the detail we would see.
The only other thing worth mentioning about modelling is that I did use the ‘ProBoolean’ tool to cut various tricky shapes – mainly around the roof. It would otherwise be very difficult and could take a lot longer for absolutely no discernable difference on the final image. Time is money.
Once caveat about this though, was that when it came down to unwrapping the UVW mapping for the roof, there were a few messy bits of geometry that I had to clean up.
Step 5: Photoshop
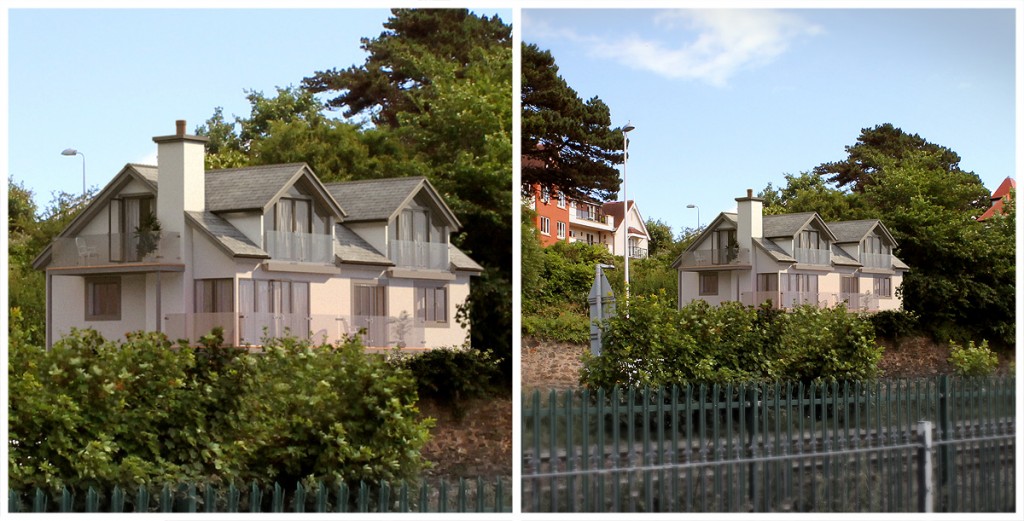
Here is our location photograph:
This is a pretty grim prospect for photoshopping in a building. It has to go right in the middle of all those trees which means a fair bit of cutting and copying and digital gardening!
Here is the render…
I cropped the photo down a little. To get the building just where I wanted, I had to look at the site plans. I still wasn’t 100% sure so I had the architect on the phone and shared my screen over skype. Better to get it done in one go than keep emailing shots.
Oh yeah, Vray. Nothing fancy here at all. I used a Vray sun and a HDRI with a fairly sunny/cloudy image. I made sure and set the environment and reflection override to the HDR image while the background was set to this picture. I also used Reinhard as the ‘color mapping’ and unchecked ‘affect background’ so the jpeg wouldn’t get blown out (or be too dim, I forget now).
Above you can see the method I used for creating foliage in front of the house. I got some tree masks from my personal stock collection and lasso’d off a few branches/bunches of leafyness, then did a copy and paste from a green/leafy area and just moved it into place.
A little colour correction, some balance, photoshop magic and hey presto… final image…
Click the above for larger image.
I hope you learned much from this tutorial. Do come back for more!
Edit: I’ve created my own web site showcasing all my 3d architectural visualisation renderings. Go check it out!
Also, follow me on twitter for updates: #SIWonderland













Hi!
I really love your tutorials, like how you make architecture stuff.
I want to ask you a question if you would be able to share your secret of lightning:)
For example in this project, when you start rendering your object, what kind of settings are you using for rendering? How many lights? What type of light? Would that be possible to have a little peak into your scene settings?:)
I like that crispy and bright look, also the textures looks great. Because for me to render this quality image with vray takes ages.
Well, for this particular scene the lighting was really simple – just a vray sun and I don’t think I even used a HDRI image for the environment light. Obviously I’d use the vray sky for the environment when it prompts you. The crisp look isn’t always realistic though, the light should be somewhat diffuse and this can be achieved by increasing the size of the sun until the shadows blur.
With that set up, a render with the following – irradiance map set to medium (primary bounce), light cache set to about 750 (secondary bounce), DMC set to 1/4 – as long as the textures are pretty simple and there’s no displacement, should only take a few minutes or even less. But note, for test renders the settings should be something like – IRR set to low/very low, light cache set to 250 and noise set to 0.02 (rather than the default 0.01), render size set to about 800px wide. That should take seconds for a simple scene.
Let me know if this helps!
Thanks for Replying,
More or less what i use:) just probably my sun is stronger and i dont know why but when i need very clear and sharp shadows i cant get them, they become blurry.
Thanks for tips anyway !
Cool tutorial ! man,
but still i need modelling detail from elevation set-up at max,
and i’m looking forward for your reply.
well, that’s kind of a different story if you mean poly modelling techniques? I start with the ground floor walls, brought into max as dwg. Then snap to vertex and create a shape. Then extrude it to the first floor height. Then it’s time to hack that to pieces using poly modelling.
Thanks sir. Very nice tutorial. I really get advantage by this.please share some tower modeling tutorial and please tell me what thing we should keep in mind while modeling anything through cad drawing.when fllor plan is different and elevation is slightly different.
Thanks 🙂 I myself have never done a tower, but I did see a great tutorial on cgarchitect.com that was done by a lady (never hear of women in arch viz). Generally though, I would say that you can improvise and make it up more than you think you can in arch viz. As long as it looks right in the render.
Thats great work. I appreciate it because its very helpful. Many people like me know about 3ds max and AutoCAD but they have no idea that how to communicate b/w them so this tutorial is really helpful. Thanks
What precisely really encouraged you to publish “3D Tutorial:
Architectural Visualisation in 3ds max from Autocad drawings | Stay in Wonderland”?
Iseriously appreciated the post! Thanks for the post ,Saul
Thanks Saul. I just spent a ton of time trying to figure this stuff out and there wasn’t too much out there, so I thought I’d share my learnings.
Hi,
I’m a teacher in secondary school and I teach 3dsmax in modeling and graphics lesson. Me and all my students really liked this tutorial and tried to build it. Well, most of them did but it wasnt precise because we dont have a dwg file. We would really appreciate if you could send it. Thanks.
Hi, sorry but the plans belong to the architect. I wonder if you can find other freely available house plans on the internet? that would help with practising 🙂
Hi,
Really really really superb work .simple but really beautiful.
Indian fan 🙂