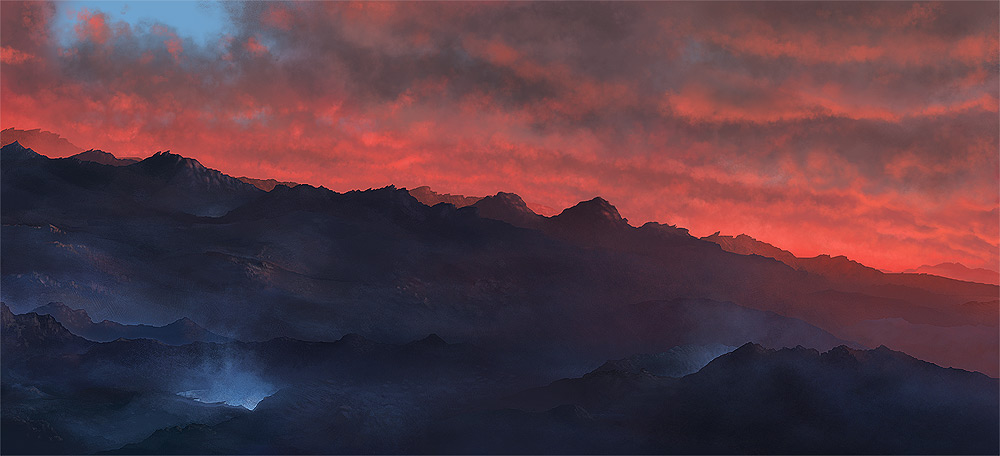
This is the second digital painting tutorial where we use Eon Vue as a reference to paint a sci fi landscape with a retro feel.
 So in a previous digital painting tutorial I showed you how to use Eon Vue to render out your reference and here we are doing much the same thing but taking it a step further…
Getting reference for sci fi and fantasy art is pretty hard and for this painting I had searched high and low for a desert landscape that looked a bit alien but to no avail.
So I decided to use Vue instead. It takes a little while to get to grips with it but once you do you can churn out a lot of cool, other-worldly terrains.
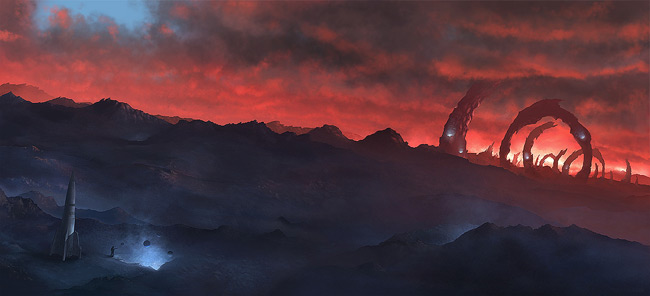
Sci fi painting final image (click for full size):
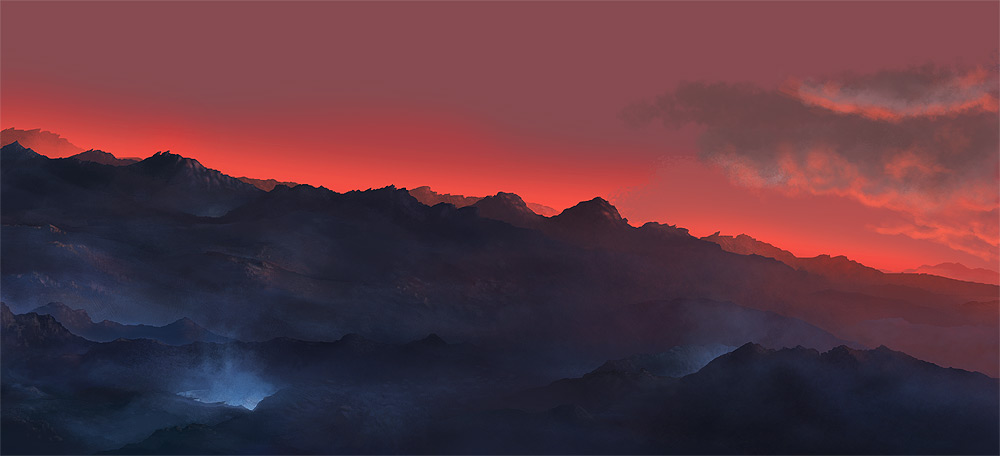
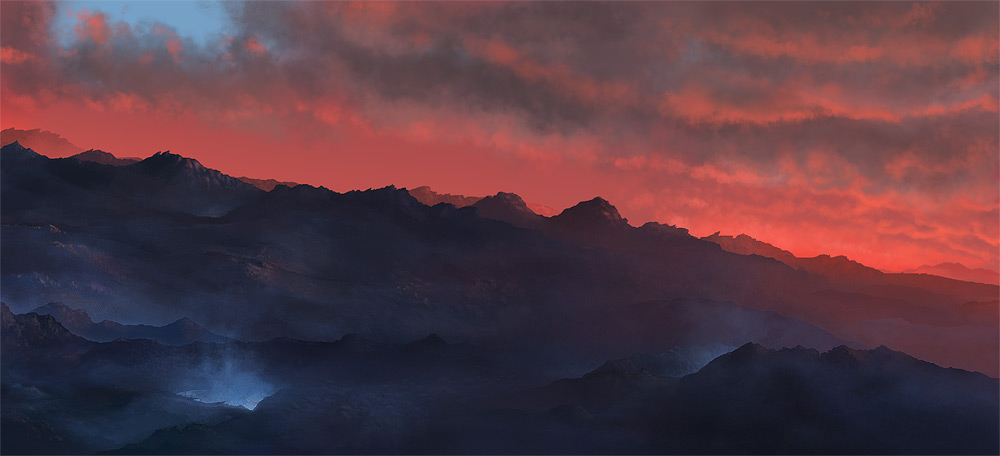
Before we start – reference:
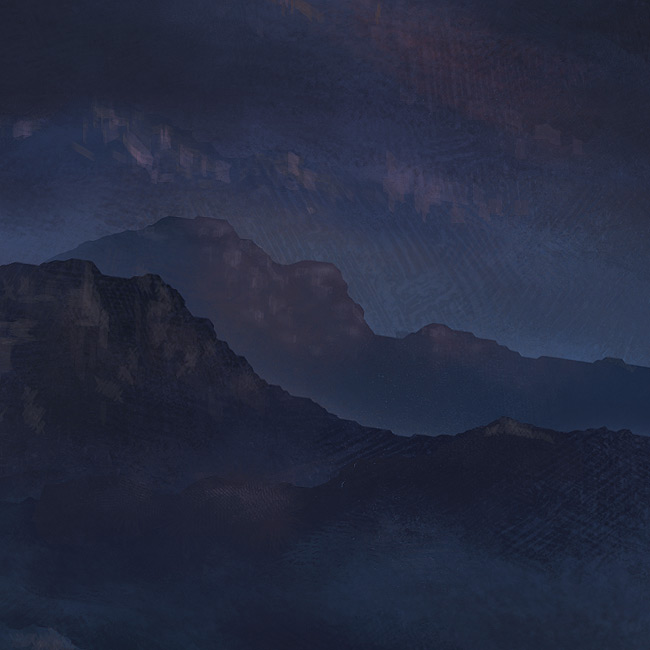
Here are the initial renders I came up with. I was working hard to get the sky right in 2 and 3 and almost went with that when I changed the sky quite dramatically and settled on the final image.
 Also before we start – working up a thumbnail:
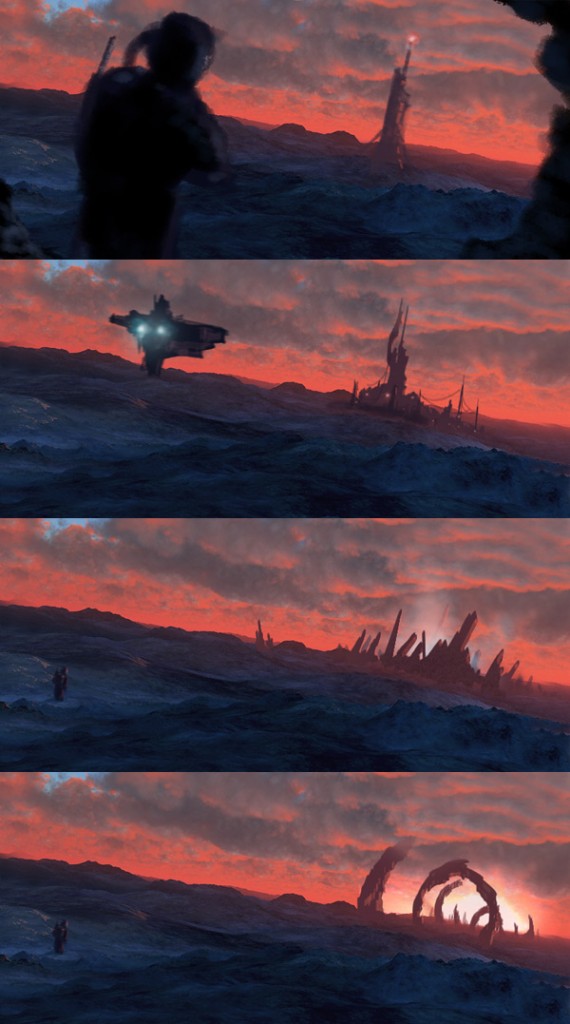 I figured the straight horizon for such a long/wide shot needed adjusting to just make for more of an interesting composition. I knew I wanted something big in the far distance and some human element such as an astronaut. I love the astronaut theme as you’ll notice from my other retro sci fi paintings.
I settled on the 4th thumbnail. I really like working with rock structures, they’re more mysterious than buildings as it’s not apparent whether they are some weird act of nature or hand carved – either of which is interesting. I love telling a story within a painting.
Retro sci fi digital painting tutorial part 1 – document set up:
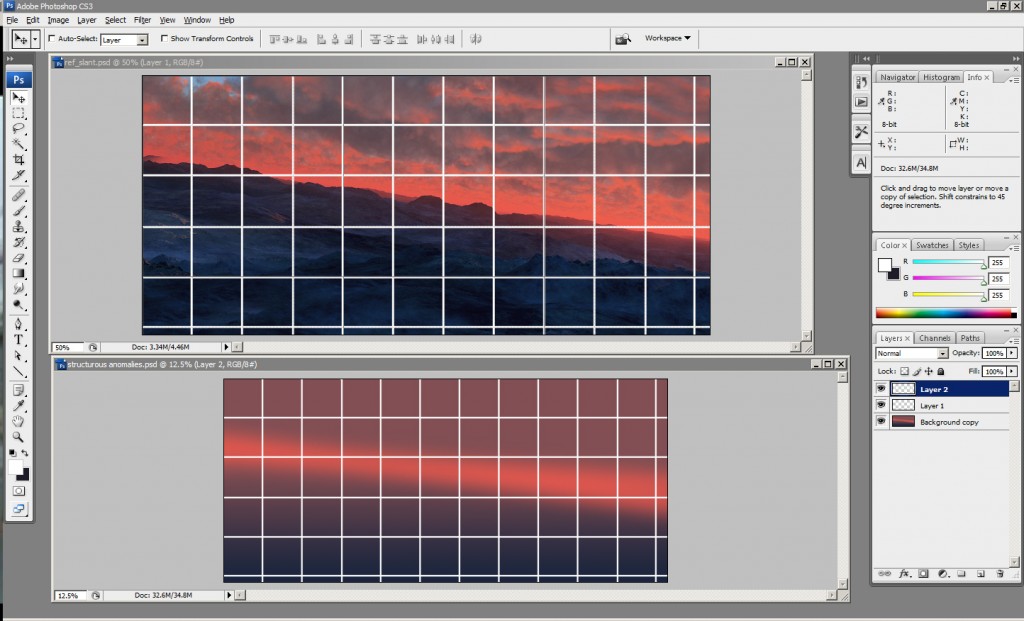 Click the above image to see full size.
So here I just wanted to make sure I was getting the basic proportions of the painting correct. After getting one or two of the basic elements blocked in I then discarded the grid as it wasn’t necessary to replicate more than a few hills/rock faces.
My document was around 5000px wide and 300dpi.
To make the grid I set up a grid in photoshop on the source image (which was rendered to 1600px wide over-night at a reasonable quality in Vue). Simply go to View > Show > Grid in Photoshop CS3. Then go into preferences and tweak the size of the grid spacing. I then drew lines over the grid and dragged the layer into my new document so the proportions were in sync.
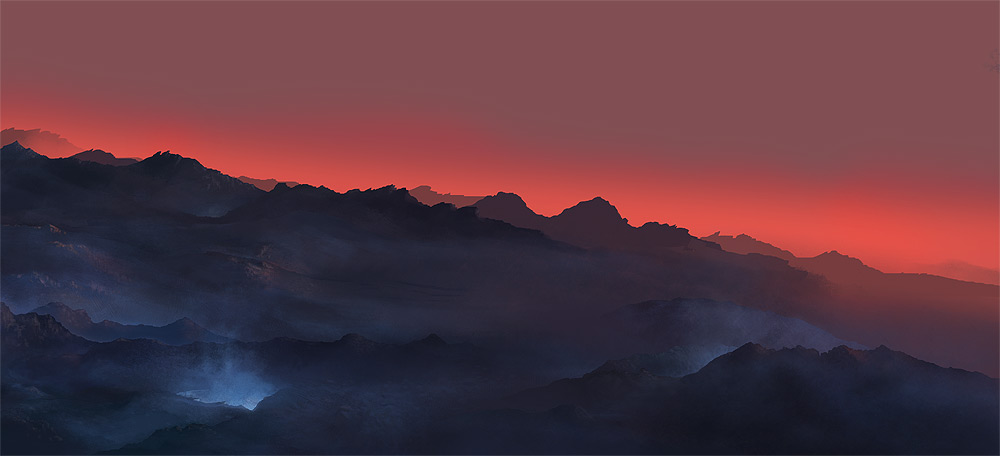
Retro sci fi digital painting tutorial part 2 – painting the horizon:
 This is pretty straight forward. I just made sure each depth of raised rock was on a separate layer. I also periodically carved into their outline using quite a hard, chiseled brush to get a solid, detailed edge.
Retro sci fi digital painting tutorial part 3 – happy accidents:
 So here I was blocking in the basic colour values for the plane and trying to get a reasonably close copy to the reference in overall layout when I created this little glowing hole in the ground.
It began as just an indent with a light value and I realised it looked illuminated. I then could picture in my mind the low light direction picking out blue highlights on the wall of a hole. So I painted it in. We should always run with these sorts of detours in an attempt to keep the creative process organic.
Retro sci fi digital painting tutorial part 4 – rocks are cool:
 I used the reference as a general guide for light direction and colour as well as basic rock formation. It became clear that a) replicating rock in detail is impossible and b) the reference didn’t always make sense or look ideal. So embelishments became the norm.
I absolutely love painting rock when the result comes together and works. Light direction and colour are crucial as well as trying to understand the random chaos of rock texture.
Sometimes I used a chalk brush and sometimes I used a hard straight brush. The general trick is to have the highlight in, say the foreground colour in Photoshop’s toolbar and the shadow colour as the background colour. Pressing ‘X’ you can quickly toggle between highlight and shadow and use the brush opacity (using the number keys in increments of 10 percent) for variation.
Here’s a close up 100% image of the final result:
So this is a close-up of the bottom left corner. It’s very simple at this level but zoomed out it captures the light direction as well as altitude of the sun (hitting the top of the rocks mainly).
Retro sci fi digital painting tutorial part 5 – more rocks:

 Looking at the reference I worked up the larger rocks in the lower right. I again noticed a bit of light on the inside of a bowl or horseshoe of rocks. I thought this could be another mysterious light source. There’s also a feint one toward the top left in the mid ground. A theme was building it seemed.
So this is the ground plane finished. It took a lot of detailing to get right. You’ll notice some individual rock creation in places. This may seem tedious but it helps sell the realism of the rock. It was also necessary to go into every major rock ridge and paint in some light direction, even in the far distant, foggy ones.
Retro sci fi digital painting tutorial part 6 – clouds:
Clouds are a bit of a nemesis of mine, it’s hard to get them to look right but I think I got there in the end. It was basically about laying down a dark cloud first on one layer and then painting in the pinkish highlights on a second layer.
The original render from Vue has that little patch of blue in the top left and I like that as it breaks up the repetition of the long solid blanket of cloud cover.
For the clouds themselves I used a cloud brush with a very slight scatter. They were individually painted rather than just blasted out with a thick scatter.
Retro sci fi digital painting tutorial part 7 – knowing when it’s not working:
 So here’s a chronology of the sun part. First I flattened the image and then went to work colour dodging a sun into the clouds. See the previous couple of posts for specific tips on how to do this.
I went about creating the structures and then wanted to tone down the sun. I was having a real hard time figuring out just how that ground glow was going to work out. It just wasn’t working somehow. So I bit the bullet as it were and got rid of it and ended up with this…
 I was most pleased with this change. All of a sudden, going back and forth between this and the more intense sun, I realised that when you looked at the previous version, your focus went BAM! right onto the sun and everthing else didn’t matter. Further to that was the fact that, once there, it wasn’t even that interesting! Check out what I mean by comparing the above picture to this one:
 In the more subtle image, your eye will tend to softly pan across the painting and is more gently lead to the right. Here it’s more a case of LOOK AT ME! Not so nice.
Retro sci fi digital painting tutorial part 8 – Finishing touches:
 Another happy accident. I was making a sphere and a highlight for the helmet of the astronaught and all of a sudden I saw this floating sphere over the blue hole. Hmm. I made a few more and bingo, mysterious alien things 🙂
For this, even though I was working a decent resolution of 5k pixels, I made a new document, did a ‘copy merge’, pasted the scene to the new document and then doubled the size again so I could really detail the tiny things.
For the ship, I searched google for ‘retro sci fi ship’ and got a few ideas. It needed to be an old-school rocket, really.
Then I painted in the little guy. It’s tricky painting in this kind of person because there’s not much size and detail you can use to pull of the whole ‘human astronaut in low lighting’ thing. So pose and clothing are imporant to get the silhouette right.
Final image (click for full 1200px image):
Once I was happy I flattened my ship/astronaut layers and dragged them back into my original document where I had to then reduce them down to 50% because if you remember, my document for their creation was twice the size.
The ship needed more darker shading on the side facing away from the main light sources and it needed tilting to fit in with the perspective/tilt of the scene.
You’ll also notice the little lights on the strange structures. I was just pondering such things throughout the whole painting process. Once I did the largest glow on the large rock formation, I was sold and went about making a few more. This obviously supports the theme of glowing blue energy from within the planet. I again loved the process of picking out rock highlights on the far structures. Very subtle in this lighting.
And that’s that. This painting took around 3-4 days with a fair bunch of time going into the research and render setup in Vue. I like getting my reference from this program though because I can make it just how I like it and have a lot of control. Photo ref just doens’t cut it most of the time when it comes to weird sci fi landscapes.
Ok, check back every week and also follow me on twitter for digital painting bits and bobs!


